
How to Grow and Care for Bromeliads: The Ultimate Guide
Do you dream of transforming your living space into a lush, tropical paradise? Are you captivated by the vibrant colors and exotic shapes of bromeliads but unsure how to cultivate these stunning beauties? Fear not, budding green thumbs! You don’t need to be an expert horticulturist or live in a humid rainforest to achieve a vibrant bromeliad garden in your own home. In this ultimate guide to growing and caring for bromeliads, we will delve into the fascinating world of these extraordinary plants, arming you with all the knowledge and tips you’ll need to grow your very own thriving bromeliad collection. From the delicate bloom of the Guzmania to the dramatic foliage of the Vriesea, prepare to dazzle your senses and discover a new passion for these enchanting tropical wonders. Let’s embark on this botanical journey together and watch your bromeliad love affair grow!
Introduction to Bromeliads: Plant Care & Growing Guide
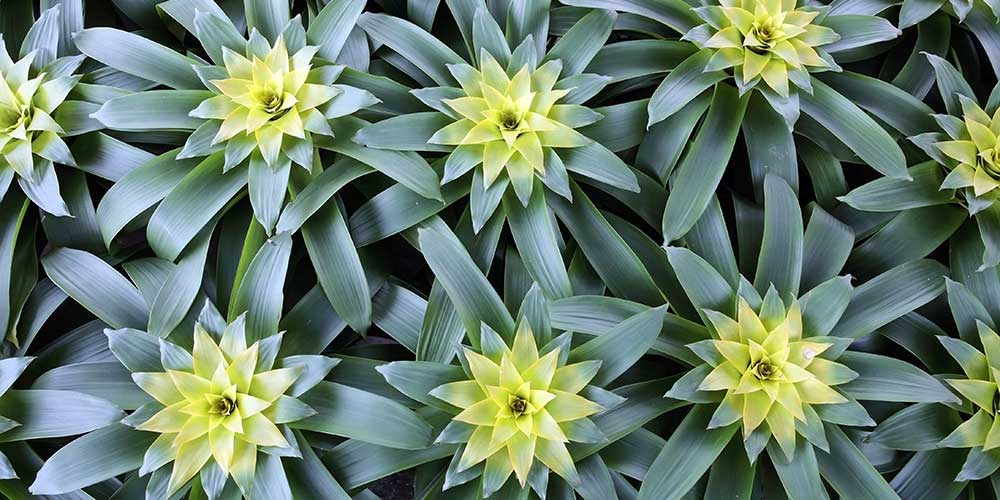
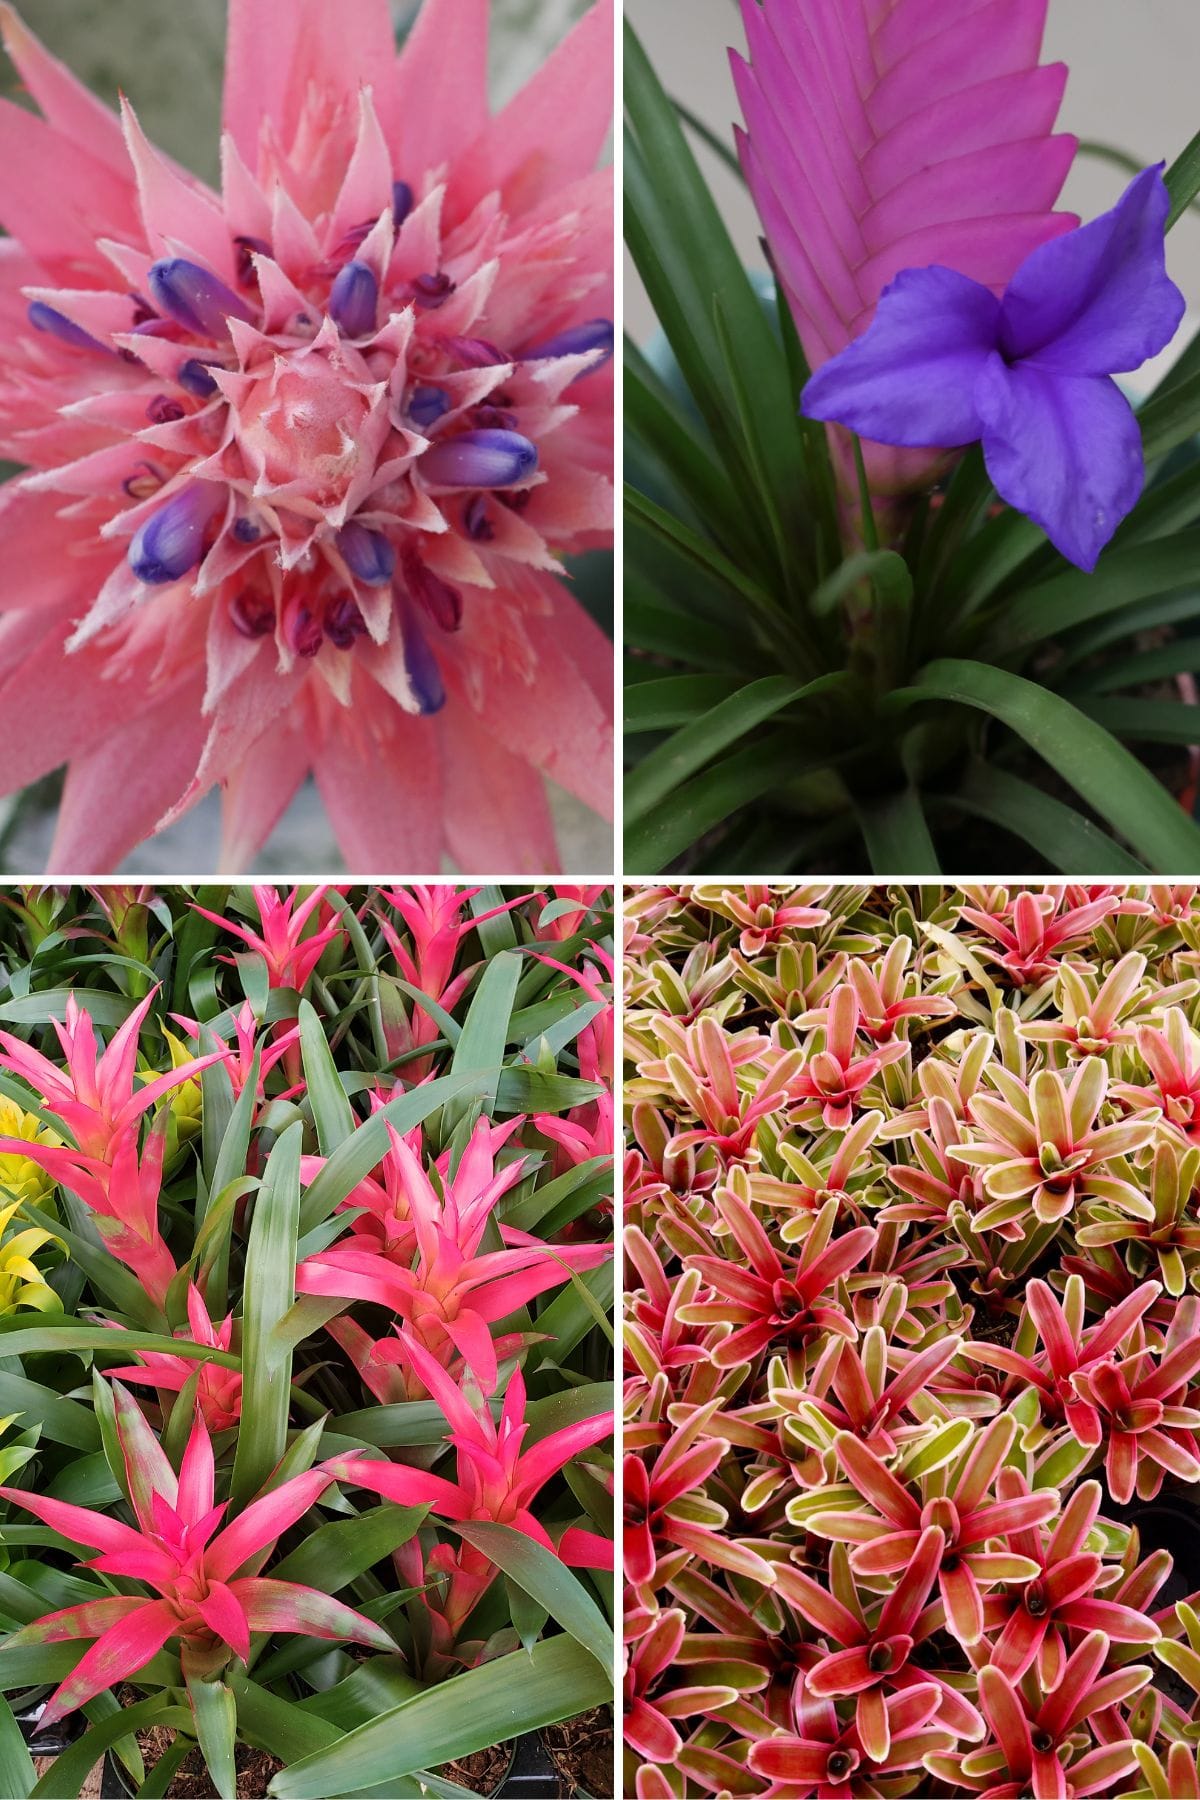
Bromeliads are a diverse family of flowering plants known for their stunning foliage and unique growth habits. With over 3,000 species in the Bromeliaceae family, these tropical beauties come in a wide range of shapes, sizes, and colors, making them a popular choice for home gardeners and indoor plant enthusiasts alike. Some well-known bromeliad varieties include pineapple, Spanish moss, air plants, and aloe-like plants with cascading leaves.
These low-maintenance plants can thrive both as terrestrial (soil-growing) or epiphytic (soil-less) plants, and are relatively slow-growing, taking one to three years to mature into flowering plants. Bromeliads typically favor bright, indirect sunlight and require a fairly specific set of conditions to bloom, which may vary depending on the species. In general, bromeliads thrive in USDA hardiness zones 10 to 11 and prefer temperatures between 50 and 88 degrees Fahrenheit.
Once a bromeliad flowers, it begins a process of dying off, leaving behind small offspring known as pups which can be used for propagation. These pups can either be left to grow alongside the original plant or removed carefully and repotted to start a new bromeliad plant. With proper care and attention, bromeliads can become a long-lasting and beautiful addition to any home or garden.
Bromeliads for Beginners: Types and Characteristics
Bromeliads are a diverse family of plants that are renowned for their attractive foliage and striking flower displays. These adaptable plants can be grown indoors or outdoors and are ideal for beginners due to their low maintenance requirements. They vary in size, ranging from one inch to 2-3 feet tall, with some popular types including urn plants, which are known for their easy-blooming nature and range of colors.
Bromeliad leaves can be broad or fine, and are often adorned with colorful bands or variegations. Many types have funnel-shaped rosettes, known as “tanks”, that hold water. These plants can be terrestrial, requiring soil for growth, or epiphytic, growing on trees or other supports without the need for soil. Bromeliads prefer temperatures between 60°F and 85°F and indirect sunlight to thrive and produce flowers.
When it comes to choosing a bromeliad for beginners, it’s important to consider the plant’s characteristics and the environment it will be grown in. Opt for species with a reputation for being easy to care for, and ensure the plant’s growing conditions and care match its preferences. With the right type of bromeliad and the proper care, even novice gardeners can enjoy the unique beauty of these fascinating plants.
Basic Requirements: Light, Water, Soil and Temperature
Bromeliads are versatile, low-maintenance plants that adapt well to a variety of growing conditions. To ensure your bromeliads flourish, it’s essential to provide them with the right environment and care. First, consider the light requirement. Most bromeliad species thrive in bright, indirect sunlight. However, some varieties may prefer lower light levels, so it’s crucial to choose a spot that provides the appropriate amount of illumination.
Watering is another essential aspect of bromeliad care. These plants prefer moist but well-draining soil. They can tolerate drought conditions but will perform best if the soil is consistently moist, not soggy. When it comes to soil, a mixture of two-thirds peat-based soil and one-third sand is ideal. This type of blend ensures proper drainage while retaining enough moisture for the plant. Alternatively, you can use an orchid mix, charcoal, or soilless potting mix.
Temperature is also an important factor for bromeliad growth. As tropical plants, bromeliads flourish in warm and humid environments with temperatures between 50 and 88 degrees Fahrenheit. If you live in a cooler climate, consider growing your bromeliads indoors or moving them outdoors during the warmer months. By providing the right light, water, soil, and temperature conditions, you can ensure your bromeliads will grow and thrive.
Bromeliad Bloom Cycle: Day length, Humidity, and Fertilizing
The bloom cycle of Bromeliads is a fascinating process that is influenced by various factors, including day length, humidity, and fertilization. These slow-growing plants typically take between one to three years to mature and start blooming. Understanding and providing the right conditions for the bloom cycle is crucial for the successful growth and care of these exotic plants.
Day length plays a significant role in the Bromeliads’ bloom cycle. Generally, these plants require a shorter day length to initiate blooming. During the shorter days of winter, Bromeliads are more likely to produce blooms. The optimal day length varies among different species, so researching the specific needs of your Bromeliad variety is essential.
Humidity is another crucial factor affecting the bloom cycle. Native to tropical climates, Bromeliads generally prefer a humidity level of around 60%. This can be achieved by using humidity trays, misting the plant, or placing a humidifier near the plant.
Finally, fertilizing also impacts the bloom cycle. It’s essential to provide the right nutrients in the form of a balanced, water-soluble fertilizer to facilitate optimum growth. Apply the fertilizer monthly at a quarter of the recommended strength during the growing season. Avoid over-fertilizing, as it can lead to leggy growth and affect the plant’s overall health. By providing the appropriate day length, humidity, and fertilization, you can successfully grow and care for Bromeliads, ensuring a spectacular display of their unique blooms.
Without Soil: Growing Bromeliads on Objects or Containers
Bromeliads, particularly the epiphytic types, are unique plants that can successfully grow without soil. Often found clinging to tree branches or moss, these air plants draw water and nutrients from their environment instead of relying on soil. This versatile growing habit makes them perfect candidates for growing in unconventional ways, such as on objects, in containers, or even mounted on driftwood or logs.
To grow your bromeliads without soil, all you need to do is securely fasten or glue the plant to an object or container that allows it to remain upright. This can be anything from a piece of decorative driftwood to a hanging glass orb or even a simple pot filled with a soilless potting mix, such as an orchid mix or charcoal. Ensure that the object or container you choose allows the plant to receive adequate air circulation and exposure to indirect sunlight.
When watering bromeliads grown this way, be careful not to overwater, as they only need a light misting or brief soak every one to two weeks. Monitor the plants for signs of dehydration, such as browning leaf tips or shriveling leaves, and adjust your care routine accordingly. With the right balance of light, water, and humidity, your soil-free bromeliads will thrive and continue to add a touch of tropical beauty to your indoor or outdoor living space.
Pruning: Cutting Bloom Stalks and Removing Babies or Offshoots
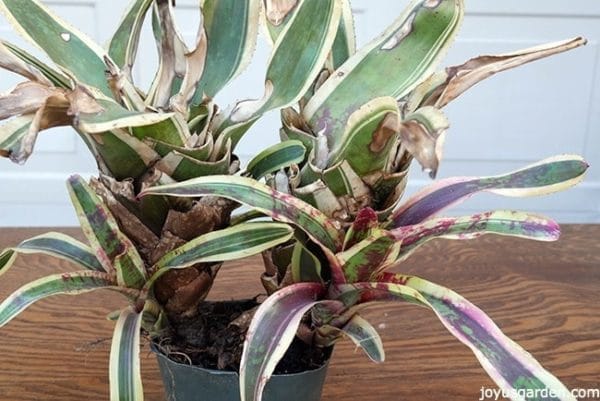
Pruning is an essential aspect of bromeliad care, as it helps maintain a healthy and attractive appearance for the plant. One primary task in pruning bromeliads involves cutting the bloom stalks. When a bromeliad reaches maturity, it produces an inflorescence or a flower stalk, which will eventually lose its color and start to brown. At this point, it is necessary to cut the bloom stalk, as it will no longer be visually appealing. Using sterilized pruning shears or scissors, carefully cut the stalk as close to the base as possible without harming the rest of the plant.
Another important aspect of pruning bromeliads involves removing the offshoots or “pups” that the mother plant produces. Once the mother plant reaches maturity and blooms, it will begin to generate pups from its base. These offspring can be carefully removed when they reach one-third to one-half the size of the mother plant, or when they have formed roots. To remove the pups, use a sharp, sterilized knife or scissors and cut as close to the mother plant as possible without injuring it. Removing the pups allows the mother plant to focus its energy on producing new offshoots, while the removed pups can be replanted and nurtured to grow into mature bromeliads. It is important to note that dipping the cut end of the pup in a fungicide and rooting hormone before potting can enhance its growth potential.
Pests and Diseases: Prevention and Control Measures
Bromeliads are generally low-maintenance plants with few pests and diseases. However, it is essential to take proper preventive measures and implement timely control techniques to maintain their health and appearance. Some common pests that affect bromeliads are mealybugs, scale insects, and spider mites. These pests can be controlled by regularly inspecting the plants and promptly removing any affected areas either manually or using insecticidal soap, neem oil or rubbing alcohol.
Fungal diseases such as root rot are a primary concern for bromeliads, especially when overwatered or grown in poorly drained soil. To prevent such issues, ensure adequate drainage by using a well-draining potting mix and avoid overwatering. Proper air circulation around the plant is essential to minimize fungal growth, so keep the surrounding area clean and free of debris.
Moreover, it’s crucial to clean and disinfect gardening tools regularly to prevent disease transmission and maintain overall sanitation. If you notice symptoms of pests or diseases on your bromeliads, isolate the affected plants and treat them appropriately to avoid spreading the problem to other plants. Regular care and monitoring will help maintain your bromeliads’ health and beauty while preventing pests and diseases.
Bromeliad Propagation: Dividing and Growing from Pups
Bromeliad propagation is an easy and popular way to increase the number of these beautiful plants in your collection. When a mature bromeliad plant reaches the blooming stage, it often produces offspring called pups, which are exact clones of the mother plant. These pups can be divided and grown separately, resulting in a continuous supply of new plants.
To successfully propagate bromeliads, wait until the pups are approximately 1/3 to 1/2 the size of the mother plant and have leaves measuring around three or four inches in length. At this stage, use a sharp, sterilized knife or scissors to carefully remove the pup from the base of the mother plant. Dip the cut ends in a fungicide and rooting hormone before planting it in a well-draining potting medium.
In order to support the new plant, consider staking it with wooden sticks until a sturdy root system develops. Provide the young bromeliad with bright, filtered light, humidity, and warm temperatures above 55 degrees Fahrenheit to ensure healthy growth. A monthly application of diluted liquid fertilizer throughout the growing season will further encourage the plant’s development.
Following these steps, you’ll enjoy a thriving collection of diverse and stunning bromeliads for years to come.
Outdoor and Indoor Care: Suitable Environment and Conditions
Bromeliads are adaptable plants that can thrive both indoors and outdoors, depending on the specific variety and environmental conditions provided. In general, these plants prefer medium to bright indirect light when grown indoors and can be placed near windows or in rooms with ample natural light. Outdoor bromeliads typically flourish in dappled shade or areas with morning sunlight but may require protection from harsh afternoon sun to avoid scorching their delicate leaves.
Temperature also plays a crucial role in the growth and health of bromeliads. These tropical plants usually prefer temperatures ranging from 60 to 80 degrees Fahrenheit (15 to 27 degrees Celsius) and can be sensitive to extreme temperature fluctuations. To maintain a suitable indoor humidity level, place the bromeliad’s pot on a saucer of gravel partially filled with water, making sure the roots aren’t submerged to prevent rot. Additionally, indoor bromeliads can benefit from regular misting to maintain the right humidity levels.
When placing bromeliads outdoors, select a location with good drainage and a consistent temperature within their ideal range. Protect the plants from extreme weather conditions, such as strong winds or heavy rainfall, to ensure their consistent and healthy growth.
Troubleshooting: Common Problems and Solutions.
Bromeliads are generally low-maintenance plants, but they may still encounter some common issues. Here are five problems and their solutions to help you maintain a healthy bromeliad:
1. Overwatering: This is the most common issue, as many people assume that tropical plants need constant moisture. However, too much water can cause root rot. To avoid this, allow the potting medium to dry before watering again and check if the soil is dry a few inches below the surface.
2. Wrong pot size: Using a container that is too large can result in the potting medium retaining too much water, causing root rot. Bromeliads typically require small pots between four to six inches in size.
3. Improper potting medium: Never use garden dirt or topsoil, as these can be too dense, retaining excessive moisture. Instead, use soil-less mixtures specifically designed for bromeliads, providing quick drainage.
4. Copper exposure: Bromeliads are sensitive to copper which may cause plant damage or death. Avoid using copper wire or treated wood when mounting your bromeliad. Opt for water-resistant glue instead of wire for mounting.
5. Lack of care knowledge: Different bromeliad species have varying care requirements. It is crucial to know the specific needs of your plant, such as mounting or potting, light requirements, and humidity preferences. Ask these questions when purchasing your bromeliad to ensure proper care and healthy growth.
Conclusion
In conclusion, Bromeliads are an excellent choice for those looking to add a touch of color and tropical flair to their home or garden. These stunning plants from Central America, South America, and parts of Africa are versatile, adaptable, and boast a wide range of vibrant foliage colors and shapes. With proper care and attention, Bromeliads can thrive indoors or outdoors, and bring years of joy and beauty to your living space.
To ensure your Bromeliad plant’s success, it’s essential to provide the appropriate growing conditions such as adequate lighting, well-draining soil, and regular watering via the central vase. Take note of the plant’s preferred temperature range and ensure fertilization is carried out during the proper seasons. Propagation and occasional repotting are also key steps in maintaining the health and longevity of your Bromeliad.
Although not a beginner’s plant, Bromeliad care isn’t overly complicated. With a bit of practice, research, and attention to detail, you’ll be on your way to growing a flourishing Bromeliad collection. So, go ahead and invite these tropical beauties into your home or garden, and revel in the stunning visual impact they create.


